Solid Central’s Reports feature gives you the ability to generate reports of your website activities and updates with ease. The reports can be customized, scheduled, and even white-labeled for sharing with clients or team members.
This guide covers everything you need to know when managing reports in Solid Central.
Creating a Report #
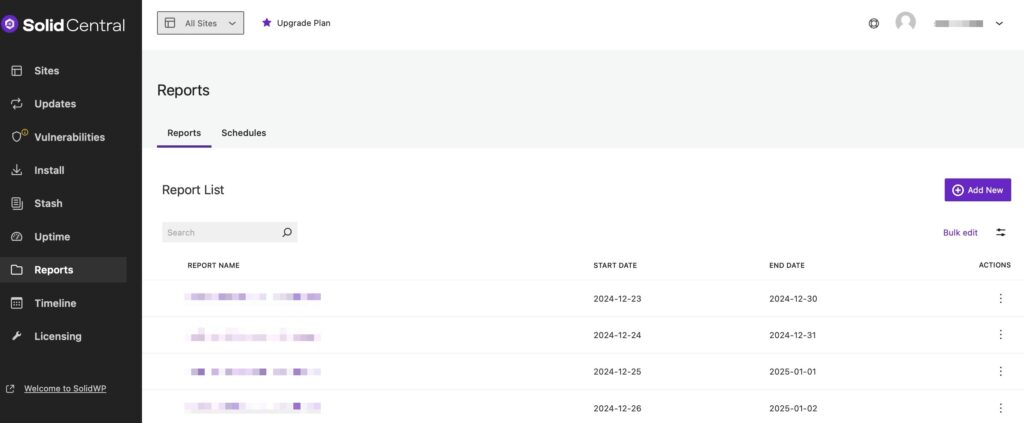
To create a new Report, head to your Solid Central Dashboard’s Reports screen and the Reports tab. Select the “Add New” button to start working on your first report.
Fill-in Report Details #
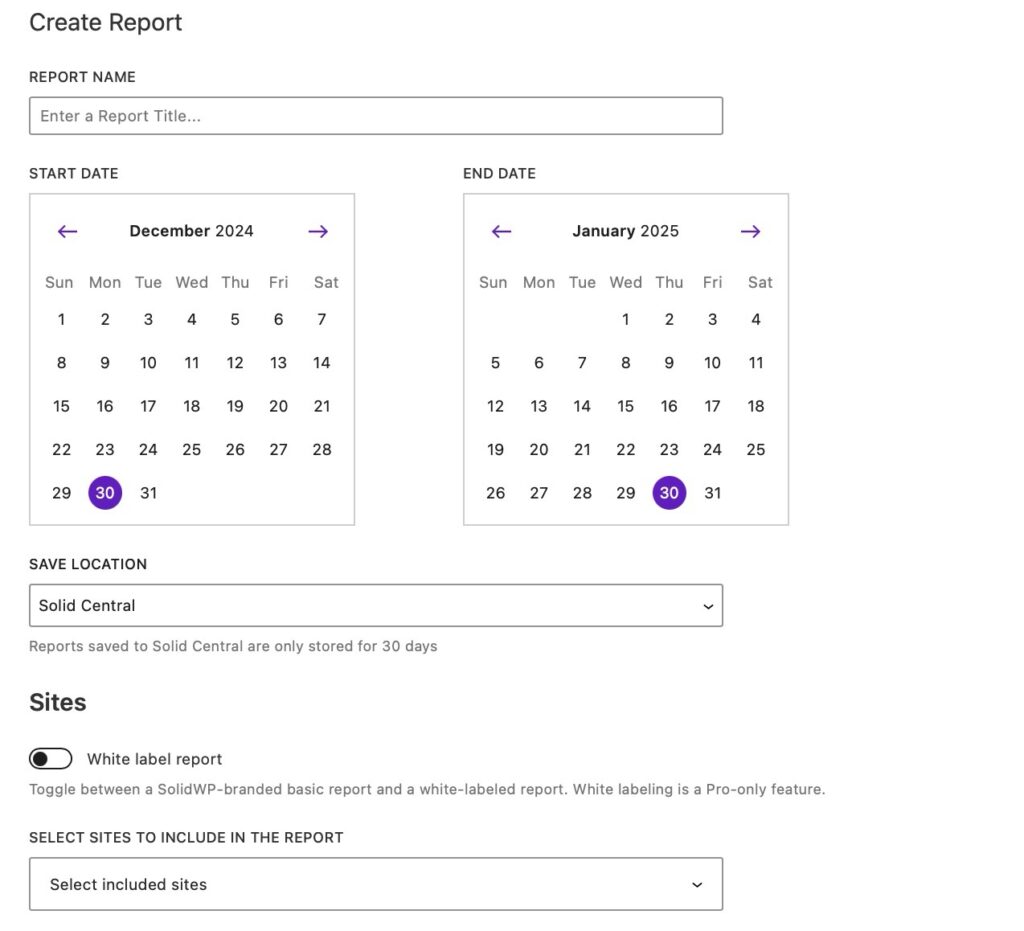
Report Name #
Provide a title for the report to easily identify it later.
Start Date & End Date #
Use the date pickers to specify the reporting period.
Choose a Save Location #
Choose where you want to save the reports, which can be either in your Solid Central account (where they will be stored for 30 days) or within a website’s filesystem.
White Label Reports #
Premium license holders can enable the “White label report” toggle to remove SolidWP branding and use your custom white-labeled design.
Select Sites to Include #
Choose which websites will be covered in the report.
Choose Report Contents: #
Solid Central offers different report types to suit various needs:
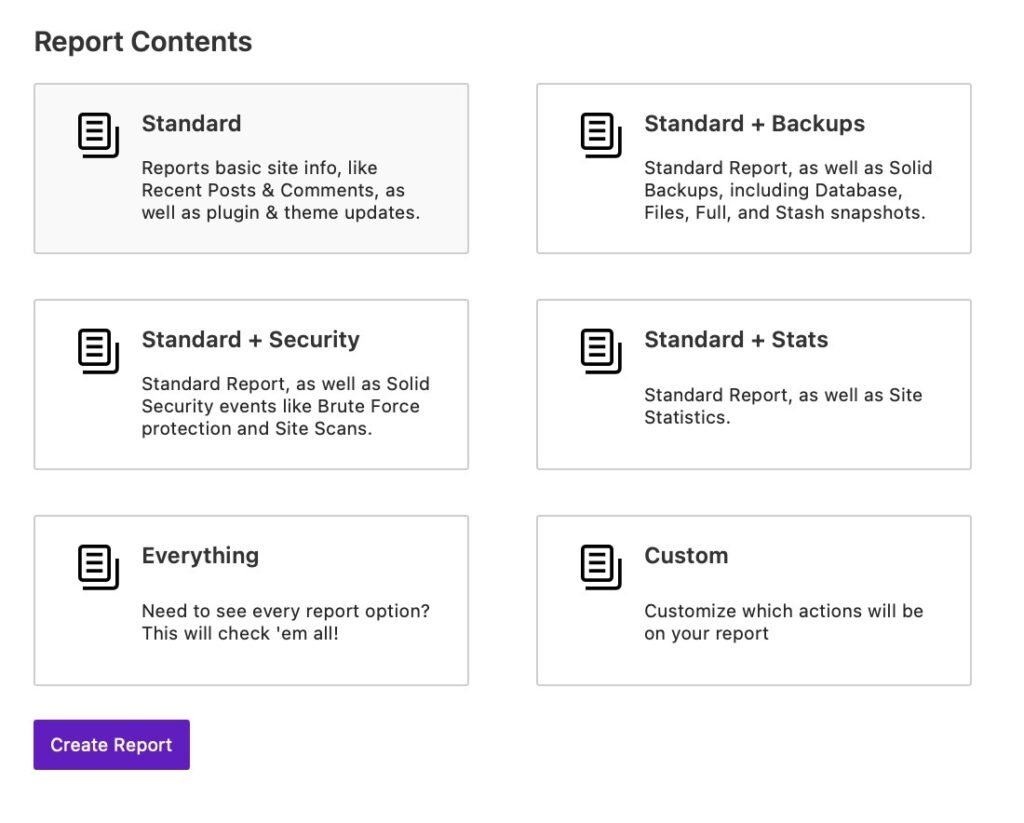
- Standard: Basic site details, including recent posts, comments, and plugin/theme updates.
- Standard + Backups: Includes Solid Backups – Legacy data like database and file backups.
- Standard + Security: Adds security-related insights, including brute force protection and site scans.
- Standard + Stats: Includes website statistics.
- Everything: A comprehensive report with all available data.
- Custom: Allows you to manually select which elements to include.
Generate the Report #
Click Create Report to finalize and create your report.
Scheduling a Report #
Scheduling your reports allows you to automate the generation and delivery of the reports at specified intervals. This helps you and your clients stay on top of website activities.
To start, head to the Schedules tab and select the “Add New” button to start creating a scheduled report.
Fill-in Report Details #
The settings you’ll see when creating a scheduled report are mostly the same settings when manually creating one, with the following added:
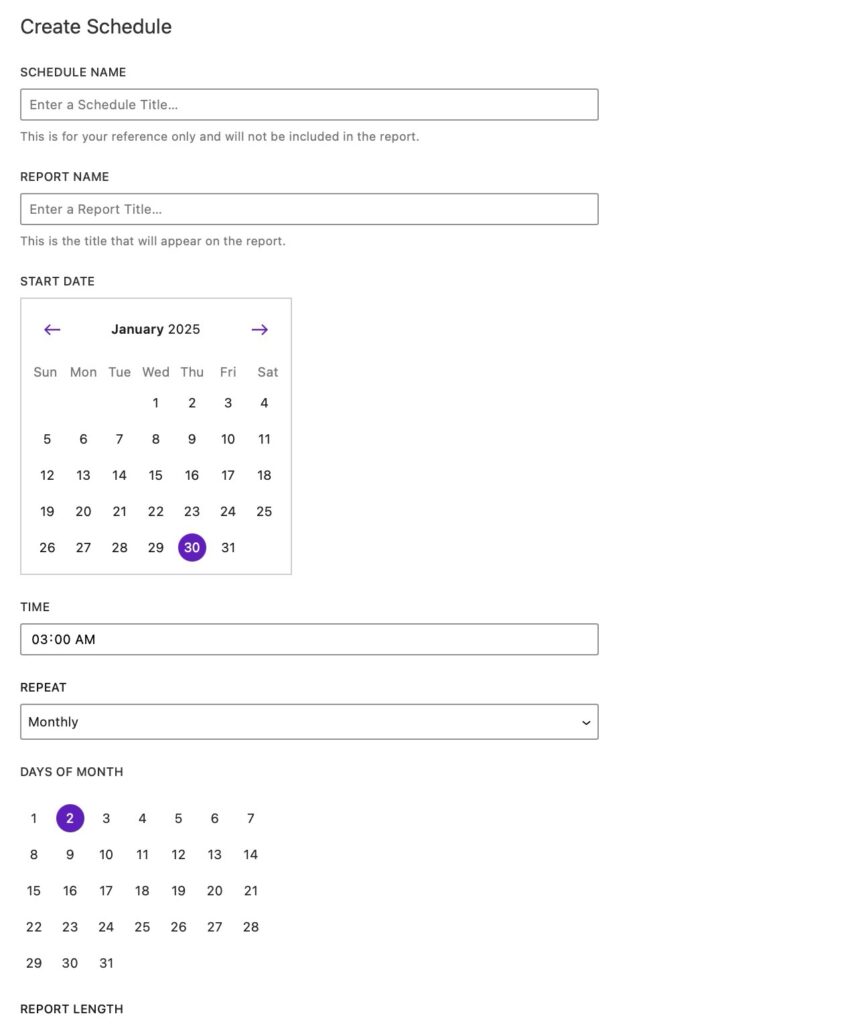
Choose Start Date & Time #
Select the Start Date when the scheduled reporting should begin and specify the Time when it will be generated.
Set Report Frequency #
- Repeat: Choose how often the report should be generated – None, Daily, Weekly, Monthly, Quarterly, Semi-Annually, and Annually.
- Days of Month: If selecting Monthly, choose a specific day (1 – 31) for report generation.
- Report Length: Select the data timeframe for each report – 7 days, 14 days, Last month, Last quarter, Last 6 months, Last year.
Activate the Schedule #
Click Create Schedule to finalize your schedule setup.
Customizing Reports #
Solid Central allows you to brand reports for a custom look and ensures your reports reflect your brand when shared with clients, team members, or stakeholders.
To apply branding, navigate to your Account Settings > White Label page.
General Settings #
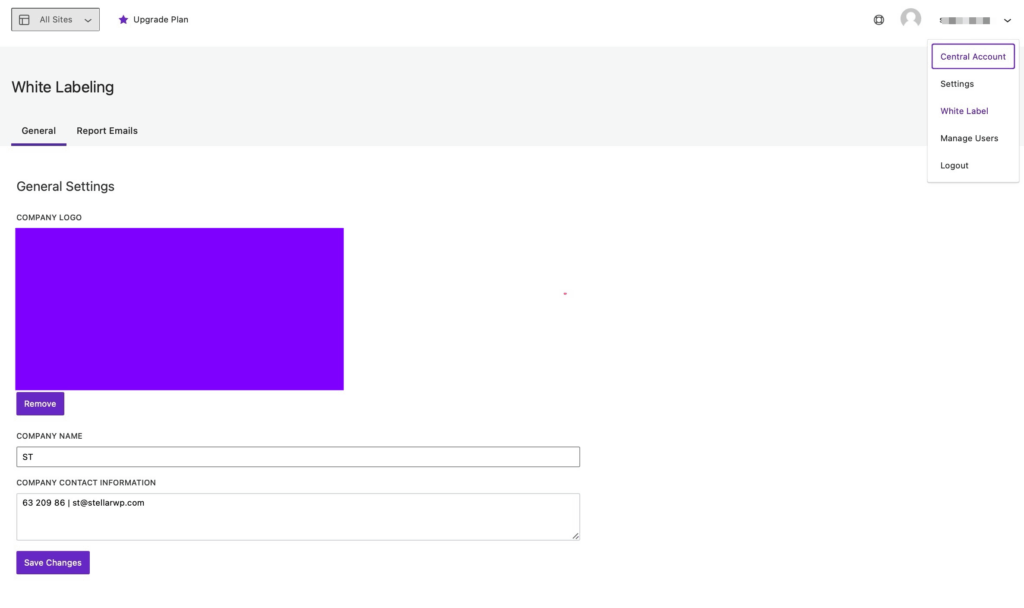
In the General tab, you can find options to enter your custom Company Logo, Company Name, and Company Contact Information.
Report Emails Settings #
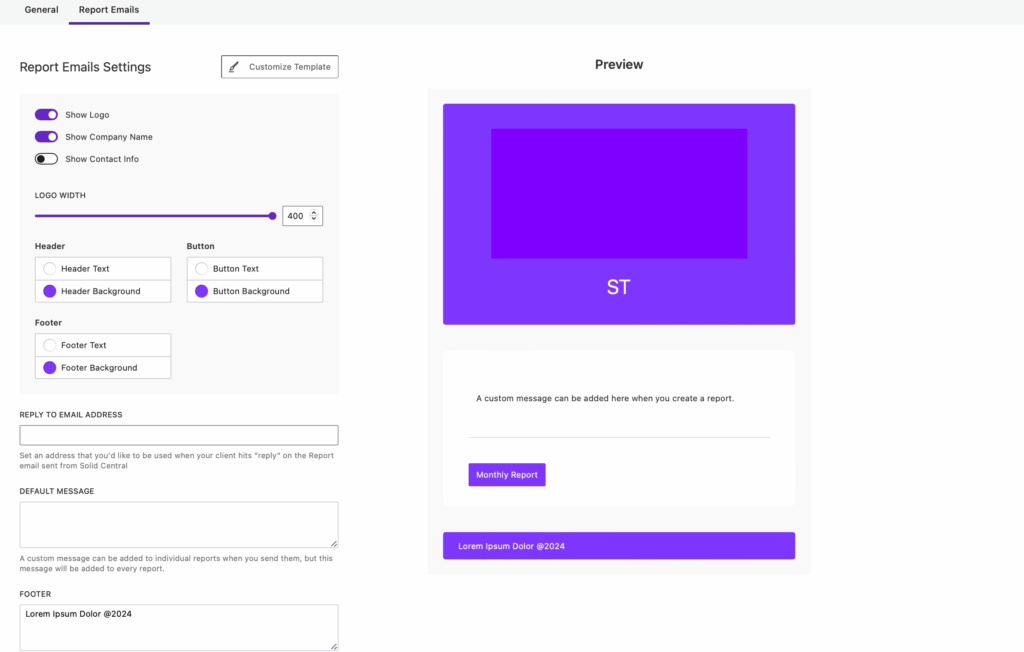
In the Report Emails tab, you can find settings that lets you Customize the Template of the reports and a Preview of how it looks on the emails.
Conclusion #
The Reports feature of Solid Central simplifies your website management by keeping you updated on performance and maintenance activities in a structured, easy-to-read format. By scheduling reports and customizing branding, you can keep your clients, team members, or stakeholders informed while maintaining a professional appearance.
